Wednesday, 25 June 2014

Stop Rulers & Stops :: handscreen printing tips


Stop Rulers and stops are for your registration of your repeat. Mark's stop ruler was passed down to him from Mr Juan. Mr Juan was Mark' Mr Miyagi! "Wax on, right hand. Wax off, left hand. Wax on, wax off. Breathe in through nose, out the mouth. Wax on, wax off" and a quick slap to the back of the head when he was wrong.

Below we use a right angle rail made from steel. It is 40mm x 40mm x L (as long as your table). This is screwed to the edge of your printing table and it is what your screens will butt up against. Important to get as straight as possible


Below are our stops. These are milled out of steel, we have had these custom made as we have never found them available for sale. Good to have friends that work with steel. These stops sit onto the steel rail.


The Stop Ruler, it is a meterage printers "sword"


Stops were used to create a starting edge… 


and an adjustable edge (below)


Ruler has been mounted onto a aluminium bar, to keep it straight.


Notice grooves in back of stops (above) to sit it on rail


First stop should be set at zero and second stop (right) should be set at repeat of design for printing. 


Stop ruler is sitting on rail and stops have been set to repeat.


15mm spanner works a treat when tightening stops 


We can expand further on information if needed. Please feel free to flick us an email here.

Mark Follow my blog with Bloglovin

Monday, 23 June 2014

Hand Screen Printing Tables


We are baaack!
We have a new blog called "Tales from a Printroom", we thought that it would be great if we could help you with lots of questions and queries of hand screen printing. As we hand screen print everyday, we now don't even know what we now know! So it would be fantastic to have feed back, ask us as many hand screen printing questions in the comments at the end of each post and we will try and get back to you with answers. 
To start with we have received a lot of emails regarding how we set up our tables and what little bits of advice/tips we can offer. We will try and take you through step by step the necessities when setting up your own hand screen printing tables. There will be videos and lots of photos to help you visualise the basics. Please comment and ask us questions.

1. As you can see below, we have a single-rail registration repeat table. 


2. Our tables have adjustable legs to make it flat on uneven ground.


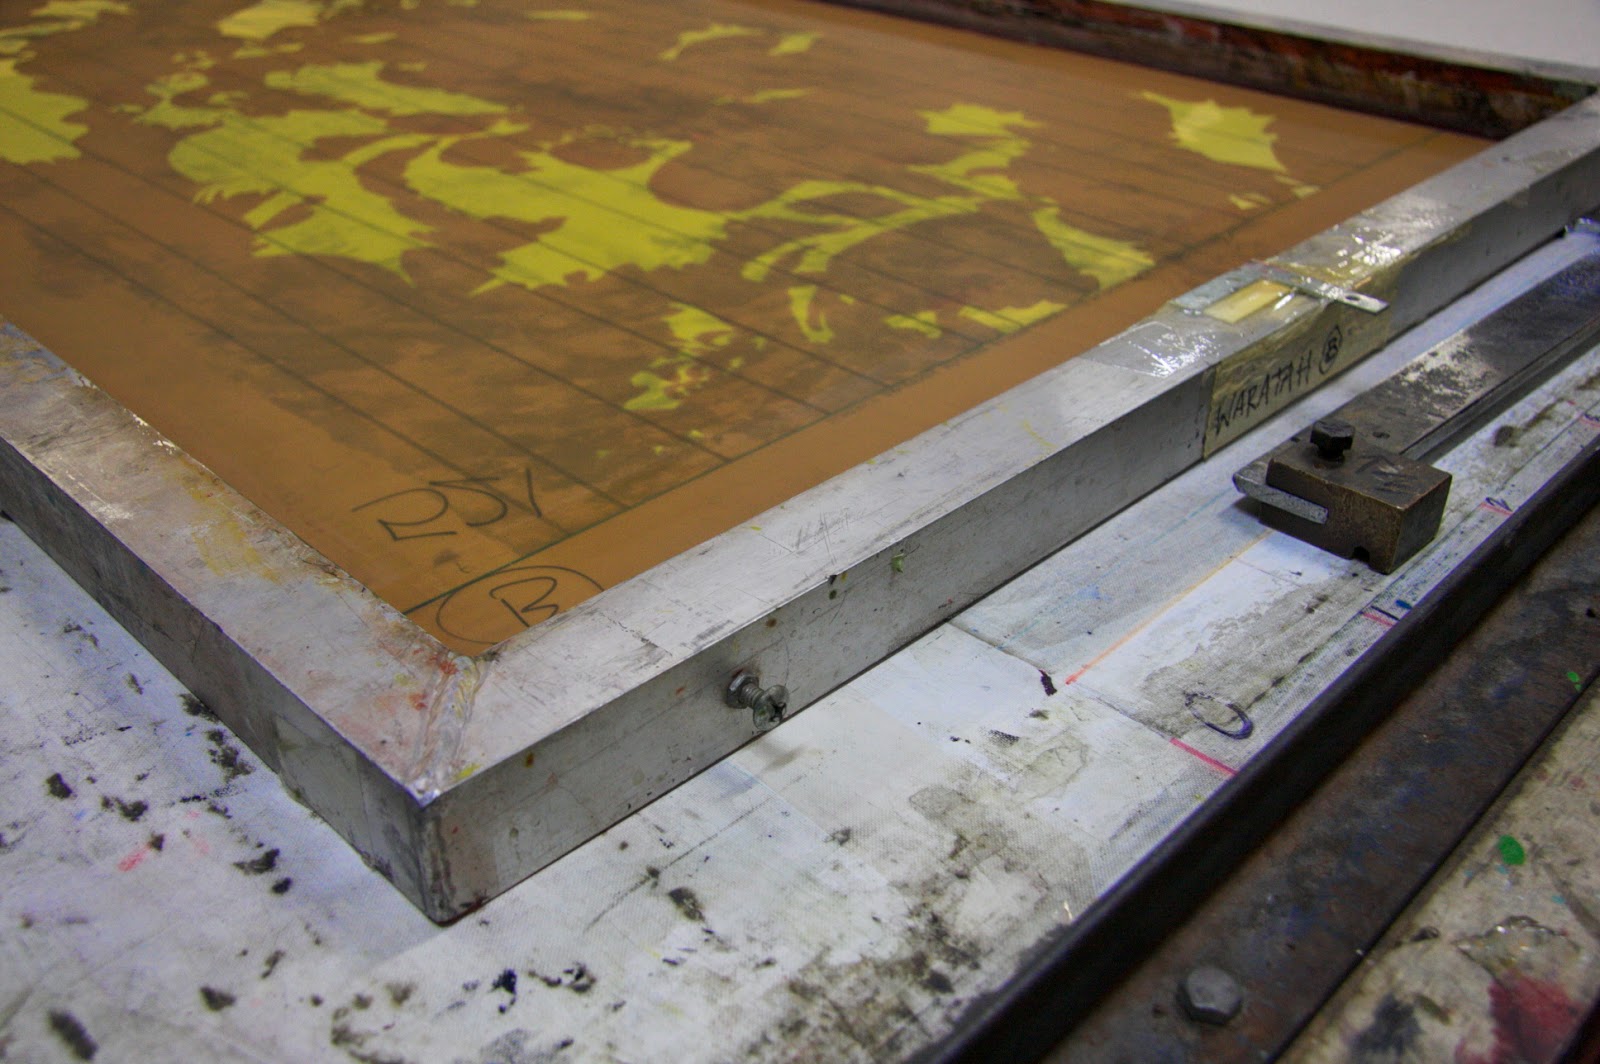
3. Two bolts have been screwed into screen to allow us to straight-line artwork on screen with rail.


 4. Custom made ruler to measure repeat, email us to enquire where to buy.


5. Stoppers on rail to register repeat.


We will be able to expand on these points when the need arises. So please comment and ask more questions.
The Publisher Textiles & Papers Team
x


Follow my blog with Bloglovin