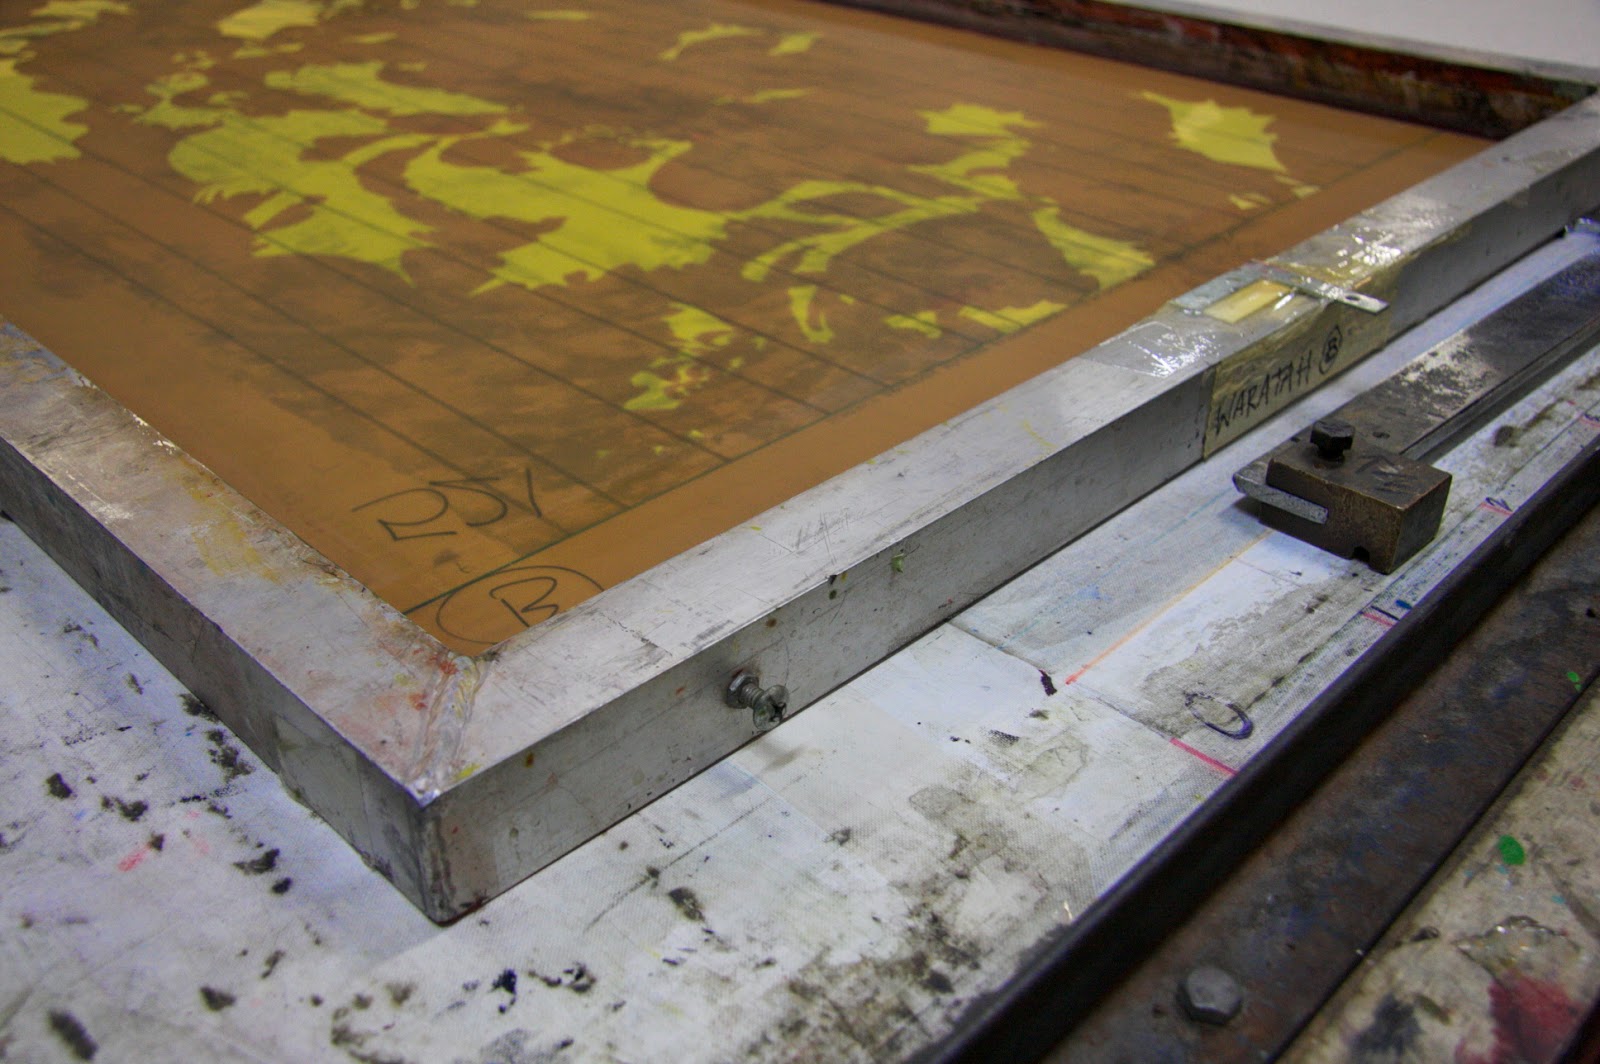
Apologies it has been a while. We have been so busy we haven't managed to get another blog post out. We have been asked by a print house in Leeds from the UK about screws in screens with stops from our previous post. This post will follow on quite nicely. This is how we do it.
Below Javed is drilling into the aluminium screen frame, we do it 10cm from each edge all the way through.
As you can see below, all drill holes will line up. Making for a better print on a one rail system, as the feet will hit in the same spot for each screen.
As seen below, we use 1/4 inch roofing screws as their thread goes from top to bottom, because we need two bolts to lock it onto the frame.
Below bolt has already been wound onto screw
Next bolt to lock the screw onto frame
We draw a straight line on the table, as we are going to straight line the screen design.
Our straight line design, left side on line, right side on line, so the line up is flat
Below are the tools used to tighten up bolts and to get screen flat line from left to right.
Getting registration with the most detailed screen, we will match other screens to this by screwing their screws in or out, applied for a multi-colour job. We will also apply an elbow for up and down registration.
As you can see below, an elbow will be needed to start up and down registration for multi colour print jobs.
This is just to get you started with screws in screens. See how you go and please comment below, if you have any further questions in regards to this.
thanks
Mark
thanks
Mark


